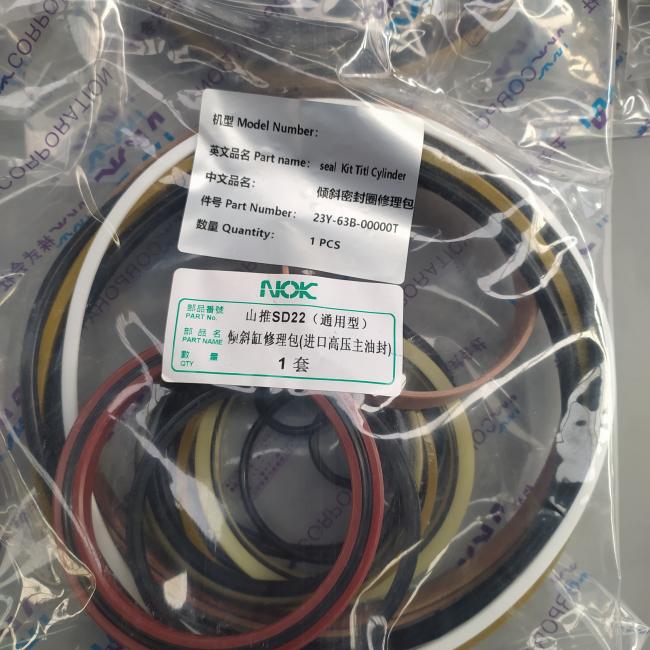
Replacing seals is a very important task in the repair and daily maintenance of construction machinery. However, because there are too many replacement parts required during the disassembly process, the operation is very complicated. If the method is incorrect or the disassembly and assembly sequence is not remembered, some inaccuracies may occur. Necessary trouble. Many users ask various questions about various encounters when replacing seals. We have briefly summarized the procedures and precautions when replacing seals to give newcomers a reference when replacing seals.
1. Central rotary joint seal replacement
(1) First remove the screws related to it, then lift the hydraulic truck equipped with a small frame under the gearbox, then rotate it at a certain angle, then put down a small truck frame and drag the lower side of the gearbox.
(2) Seal it with an oil cut-off oil return pipe (to avoid pulling out the iron core when a large amount of hydraulic oil flows out of the core from the central rotary joint). Unscrew the 4 fixing screws on the oil pan.
(3) Hang the hooks on both sides of the core relative to the two pipe joints on both sides of the chest; then place the jack against the vertical drive shaft, jack upward, and at the same time pull the core out, you can Replace with seal.
(4) Fix the central rotary joint core with the top cover, then push the 1.5t jack back to its original position, and install other components in the reverse order to disassemble the complex.
The entire process requires only a single job (collaboration is also possible) and does not require the removal of any oil pipes. The hydraulically lifted small car can be modified with a horizontal jack frame, or an existing small frame can be provided, and deoiled fire-proof filled plastic alternatives can be provided. The tension can be made. It mainly consists of a base plate and an adjustable chain, and is equipped with a jack to complete. The entire work has no other auxiliary equipment and is very simple to use tools, especially for quick repairs on site.
2. Boom cylinder seal replacement
The boom cylinder is heavily oiled and the oil seal replacement can be completed in a short time as its conditional maintenance workshop, but in the wild, it is quite difficult to do a single job of neither lifting equipment. The following is just a summary of the methods. A chain hoist, ranging from four lengths of rope, plus other tools will do the job. The specific steps are:
(1) First, park the excavator, put the stick at the end, lift the boom, and place the bucket flat on the ground.
(2) Connect the wire rope on the boom and the short wire rope at the upper end of the boom cylinder, pull both ends of the hook by hand to hook the wire rope, and then tighten the wire rope.
(3) Remove the boom cylinder rod head with a movable pin, remove the inlet and outlet oil pipes, and the boom cylinder on the platform.
(4) Remove the movable cage, the card key on the boom cylinder, fill the groove at the height of the boom cylinder with rubber strips, put appropriate wire ropes into the pin holes of the punch arm and boom cylinder rods, and connect the ring hoist , then tighten the chain and the piston rod can be pulled out.
(5) Replace the oil seal and then reinstall it during disassembly. If three people work together, it takes about 10 minutes to complete.
The above are simple methods for common seal replacements. For more repair methods, you can continue to pay attention to our website. If you need to buy excavator seals or second-hand excavators, you can contact us, CCMIE will serve you wholeheartedly!
Post time: Jul-30-2024

